The vibrant, aromatic presence of fresh basil is a culinary delight, capable of transforming a simple dish into an extraordinary one. However, as any gardener or home cook knows, its fresh beauty is fleeting. Basil leaves can wilt, blacken, and lose their potency remarkably fast, leaving you scrambling to use an abundant harvest before it's too late. But what if you could capture that summer essence and enjoy it all year round, without needing expensive equipment?
You can! Learning how to dry basil leaves is a budget-friendly, highly rewarding skill that preserves the herb's beneficial nutrients and intense flavor. Forget those pricey, often flavorless supermarket jars of "basil dust." With simple DIY methods, you can preserve your homegrown (or market-bought) basil and infuse your cooking with a taste of summer, no dehydrator required. This guide will walk you through effective, accessible ways to dry basil, ensuring your pantry is stocked with fragrant, homemade goodness.
Why Dry Basil (and Why Go Dehydrator-Free)?
Preserving basil isn't just about preventing spoilage; it's about concentrating its aromatic compounds and beneficial nutrients. When you properly dry basil, you remove the moisture that causes decay while locking in the "good stuff" that makes it so cherished in cuisine. The goal is to retain its vibrant color and pungent aroma, making it a powerful ingredient for countless dishes.
Choosing to dry basil without a dehydrator often comes down to practicality and budget. Many home cooks and homesteaders don't have a dedicated dehydrator, and that's perfectly fine! Traditional, low-tech methods have been used for centuries because they work. They are often budget-friendly, energy-efficient, and surprisingly effective at producing high-quality dried herbs. By embracing these DIY approaches, you can:
- Enjoy Homegrown Flavor All Year: Add a taste of your garden to soups, sauces, stews, and dressings long after the growing season ends.
- Save Money: Avoid buying expensive, often inferior dried herbs from the store.
- Reduce Waste: Make the most of an abundant basil harvest, preventing those beautiful leaves from wilting away.
- Store with Zero Refrigeration: Dried basil takes up minimal space and requires no special cold storage.
- Embrace Simplicity: These methods require minimal tools and effort, making herb preservation accessible to everyone.
Essential Preparation: Getting Your Basil Ready
Before you embark on any drying method, proper preparation is key to ensuring a high-quality end product. A little attention to detail at this stage can prevent issues like mold, browning, or a lackluster flavor.
Harvesting for Success
If you're harvesting basil from your garden, timing matters. The best time to pick basil is in the morning, after the dew has evaporated but before the intense midday sun hits. At this point, the plant's essential oils (which give basil its flavor and aroma) are most concentrated. Choose healthy, vibrant leaves and stems, avoiding any that show signs of wilting, yellowing, or disease. It's also wise to harvest before the plant "bolts" (sends up flower stalks), as this can change the flavor of the leaves, making them slightly bitter.
Cleaning and Prepping Your Basil
- Wash Thoroughly: Gently wash your basil under cool, running water. This removes any dirt, dust, or tiny insects that might be clinging to the leaves.
- Pat Dry: This step is crucial. Excess moisture is the enemy of drying and can lead to mold. Lay the washed basil leaves or sprigs on clean kitchen towels or paper towels and gently pat them completely dry. You want them as dry as possible to the touch before proceeding.
- Separate Leaves (for most methods): For optimal drying, especially with larger leaves, it's often best to remove the leaves from the stems. This allows for more uniform drying and prevents moisture from lingering in the thicker stem sections.
Method 1: The Time-Honored Art of Air Drying Basil
Air drying is arguably the most traditional and budget-friendly method for preserving herbs. It requires no electricity and minimal equipment, relying on good old natural air circulation to remove moisture. This gentle process helps retain basil's vibrant color and potent essential oils, resulting in a superior dried herb.
Hang Drying Basil (The Classic Method)
Hang drying is the quintessential "old-fashioned" way to preserve herbs, and it costs absolutely nothing. While it might seem intuitive to bundle up all your basil, successful hang drying hinges on allowing adequate air circulation to prevent mold.
- Create Small Bunches: If you choose to dry whole sprigs, make very small bunches – no more than 4-6 stems per bundle. Secure them loosely with kitchen twine or a rubber band. The key is to ensure that air can reach every leaf, even those on the inside of the bunch. Larger, denser bunches will trap moisture and almost certainly lead to mold and uneven drying.
- Find the Right Spot: Hang your basil bundles upside down in a clean, dry room with good air circulation. A pantry, a corner of your kitchen away from direct sunlight, or even an attic can work. Important considerations:
- Out of Direct Sunlight: Sunlight can bleach the basil, causing it to lose its vibrant green color and diminish its flavor.
- Good Airflow: This is paramount. A gentle breeze or even a ceiling fan can help, but avoid stagnant, humid areas.
- Low Humidity: A dry environment speeds up the drying process and prevents mold.
- Be Patient: This method takes time. Depending on the humidity and temperature of your drying environment, your basil could be fully dry in 2 to 4 weeks. You'll know it's ready when the leaves are brittle and crumble easily to the touch.
Herb Drying Racks (Enhanced Air Circulation)
For those who prefer to dry individual leaves for faster, more even results, an herb drying rack is an excellent solution. If you don't have a commercial one, a simple DIY version is easy to create. The principle is the same: maximize air circulation.
- Spread in a Single Layer: After cleaning and thoroughly patting dry, gently pick the basil leaves from their stems. Spread them out in a single layer on your drying surface.
- Ensure All-Around Airflow: The beauty of a drying rack is that it allows air to circulate from all sides – top, bottom, and sides. This is why commercial racks often have mesh shelves. If you're improvising, a screen frame with mosquito netting or a cooling rack placed over a fan can work wonders. This constant airflow is crucial for even drying and prevents any moisture from getting trapped underneath, which could lead to mold or browning.
- Location, Location, Location: Just like with hang drying, place your rack in a dry room with good air circulation, away from direct sunlight.
- Monitor and Flip: While single-layer drying is more efficient, it's still a good idea to gently turn or flip the leaves every few days to promote even drying.
- Drying Time: This method can be a bit faster than hang drying bundles, often taking 1 to 3 weeks, depending on conditions.
Method 2: Quick & Efficient Oven Drying for Basil
When time is of the essence, or you live in a very humid climate where air drying is challenging, your oven can be a surprisingly effective tool for drying basil. The key is using the absolute lowest temperature setting to gently coax the moisture out of the leaves without cooking or burning them. For a deeper dive into various techniques, including oven drying, you might find our article How to Dry Basil: Oven, Air, & Dehydrator Techniques Explained helpful.
Step-by-Step Oven Drying
- Preheat Oven to Lowest Setting: The ideal temperature range is between 40-50°C (105-120°F). Many ovens have a "warm" setting or simply a lowest dial setting that falls within this range. If your oven's lowest temperature is higher, proceed with extreme caution and shorten drying times significantly.
- Prepare Baking Sheets: Line a baking sheet with parchment paper. This prevents the basil from sticking and makes cleanup easier.
- Spread Leaves in a Single Layer: After cleaning and thoroughly patting dry, spread your basil leaves in a single, even layer on the prepared baking sheet. Do not overcrowd the tray, as this will hinder air circulation and lead to uneven drying.
- Slow and Low Drying: Place the baking sheet in the preheated oven. To allow for better air circulation and to prevent the oven from getting too hot, you can prop the oven door open slightly with a wooden spoon or heat-resistant object.
- Monitor and Flip: This is the most critical part of oven drying. Basil leaves are delicate and can burn quickly. Check on your basil frequently, every 30-60 minutes, and gently flip the leaves to ensure even drying.
- Drying Time: Oven drying typically takes a few hours, anywhere from 1.5 to 4 hours, depending on your oven's temperature, the basil's moisture content, and how often you flip it. The leaves should become crispy and easily crumble when dry. Remove them immediately once they reach this stage to prevent burning.
Caution: Never leave basil unattended while drying in the oven. It's a quick process, but requires your vigilant eye to prevent over-drying or burning, which will destroy the flavor and aroma.
Storage: Keeping Your Dried Basil Perfect
Once your basil is completely dry – meaning it's brittle to the touch and crumbles easily – it's time for proper storage to preserve its potency for months to come. If there's any residual moisture, your dried basil is prone to mold, so ensure it's truly bone dry before storing.
- Crush or Store Whole: You can gently crush the leaves with your hands or keep them whole. Storing whole leaves and crushing them just before use can help retain more of their essential oils and flavor.
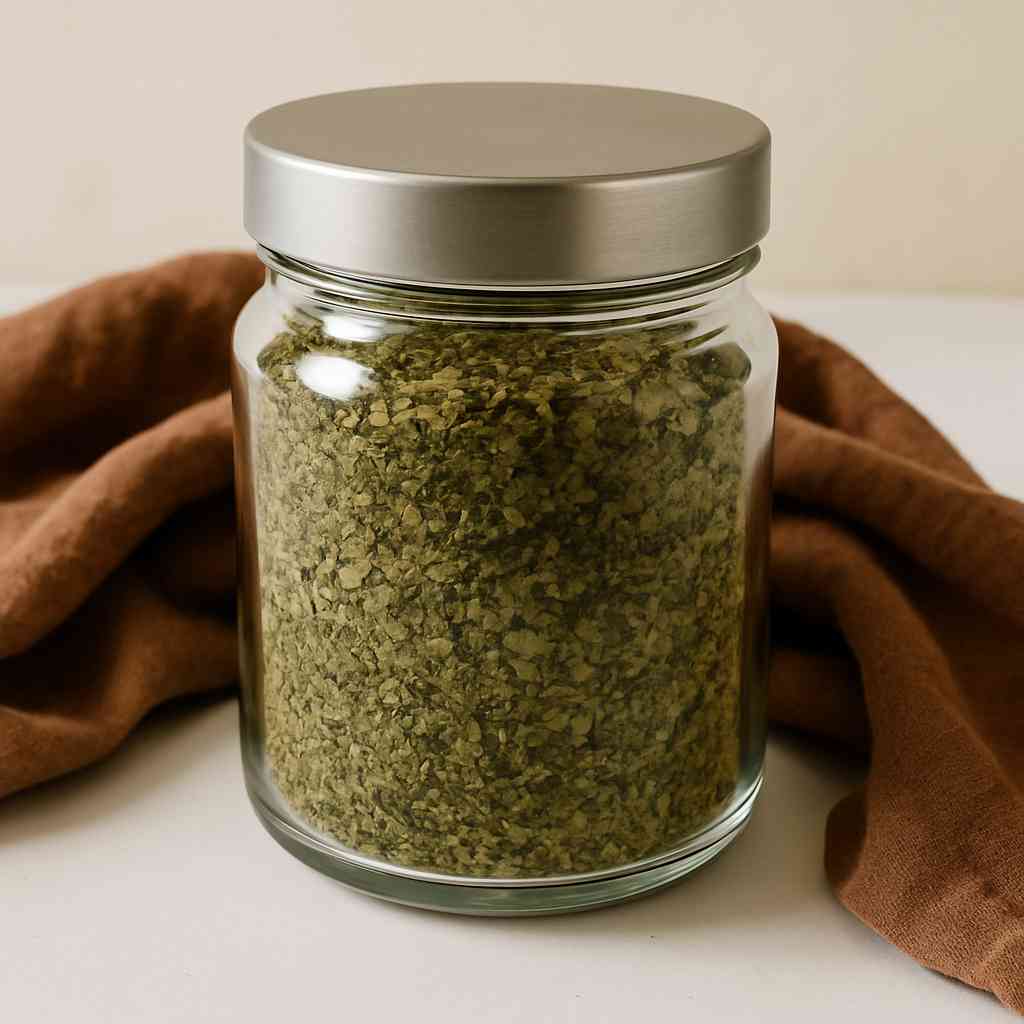
- Airtight Containers: Transfer your dried basil to airtight containers. Glass jars with tight-fitting lids are ideal, but any container that seals well will work.
- Cool, Dark Place: Store the containers in a cool, dark pantry or cupboard, away from direct sunlight, heat, and humidity. Light and heat can degrade the flavor and color of your dried herbs over time.
- Shelf Life: Properly stored, dried basil will maintain its best flavor for about 6-12 months. While it won't "spoil" beyond that, its potency will gradually diminish.
Maximizing Flavor and Nutrients: Key Principles
Regardless of the method you choose, a few overarching principles will help you achieve the best possible dried basil:
- Prioritize Low Heat: Whether air drying or using an oven, avoiding high temperatures is paramount. High heat can "cook" the basil, destroying its delicate essential oils and turning it brown. The goal is gentle dehydration.
- Embrace Air Circulation: This cannot be stressed enough. Consistent airflow prevents moisture pockets, which are breeding grounds for mold and lead to uneven drying. Spread leaves out, use small bunches, and ensure your drying area isn't stagnant.
- Avoid Direct Sunlight: While a warm room is good, direct sunlight fades the color of basil and degrades its flavor. Dry your herbs in a shaded spot.
- Harvest & Dry Quickly: The sooner you get your fresh basil drying after harvest, the more beneficial nutrients and vibrant flavor you'll retain.
Preserving your own basil is a wonderfully satisfying endeavor that elevates your home cooking. By following these budget-friendly, dehydrator-free methods, you can transform a fleeting summer harvest into a year-round culinary staple, ensuring the rich, sweet, and peppery notes of basil are always within reach.
